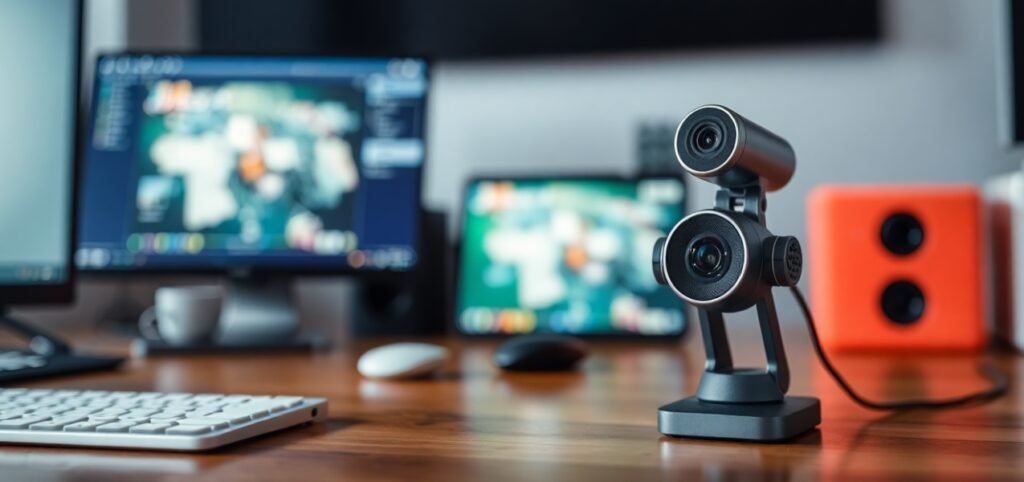
Recording video on your PC from a web camera is a handy skill that can be useful for a variety of purposes, from creating content for YouTube to attending video calls or recording tutorials. The good news is that it’s pretty simple to set up, even for beginners. In this blog, we’ll walk you through the process of how to record video on PC from a web camera, covering everything from the tools you’ll need to some useful tips along the way.

4 Steps to Record Video on PC from a Web Camera
Step 1: Set Up Your Web Camera
Before you can record video on PC from a web camera, you need to make sure that your camera is properly connected to your computer. If you’re using a laptop, chances are your webcam is already built-in, so all you need to do is ensure it’s working. For desktop PCs, you’ll need to plug your external web camera into one of your USB ports.
Once connected, your computer should automatically detect the camera. If it doesn’t, make sure you have the latest drivers installed, which you can usually find on the manufacturer’s website.
Step 2: Choose Your Recording Software
There are several ways to record video on PC from a web camera. You can either use built-in software like Windows Camera or download third-party software that offers more features.
Option 1: Using Windows Camera
For Windows users, the Camera app is the easiest option. It’s already installed on your system and allows you to record video directly from your web camera.
- Open the Start menu and search for Camera.
- Launch the Camera app.
- In the app, click the video camera icon to switch to video mode.
- Press the Record button to start recording video on PC from your web camera.
This simple method works well for basic recordings, but if you need more control or editing features, you might want to use a third-party program. (record video on PC from a web camera)
Option 2: Using Third-Party Software
If you’re looking for advanced features, third-party applications like OBS Studio, Camtasia, or ManyCam can help you achieve professional-quality video recordings. Here’s how to get started with OBS Studio, a free and open-source software widely used by streamers and video creators.
- Download and install OBS Studio from the official website.
- Open OBS and click on the “+” sign under the Sources box.
- Select Video Capture Device, then choose your webcam from the list of devices.
- Resize and position the video capture window according to your preference.
- Press Start Recording to begin recording video on PC from your web camera.
OBS Studio also allows you to mix in other media sources, such as screen recording, so it’s a great option for tutorials and live streams.
(record video on PC from a web camera)
Step 3: Recording Your Video
Now that you have your webcam set up and software ready, it’s time to record video on PC from a web camera. Follow these simple steps:
- Adjust your camera angle and lighting to ensure good visibility.
- Check your sound quality, especially if you’re recording yourself speaking. You can use your webcam’s built-in microphone or an external one for better sound.
- Click the Record button in your chosen software to begin recording.
- When you’re done, simply press Stop Recording.
For third-party software like OBS, make sure to check your settings beforehand to ensure everything from resolution to audio is set according to your needs. It’s always a good idea to do a test recording to ensure your setup is perfect.
(record video on PC from a web camera)
Step 4: Save and Edit Your Video
Once you’ve finished recording video on PC from a web camera, you can save the file in your preferred format (such as MP4 or AVI). If you need to make edits to your video, you can use free video editors like Shotcut, DaVinci Resolve, or even paid ones like Adobe Premiere Pro.
Editing tools allow you to cut out unnecessary parts, add effects, or overlay text and images. After editing, you can export your video and upload it to platforms like YouTube, Vimeo, or share it directly with others.
Tips for Recording Better Videos
- Good Lighting: Ensure that you’re well-lit so that your webcam can capture clear, sharp images. Position yourself facing natural light, or use a ring light if necessary.
- Stable Connection: If you’re recording for a long period, ensure your web camera and PC are stable. Use a tripod or stand for your webcam if needed.
- Quality Settings: If your software allows, adjust the resolution to ensure the video looks clear and professional. Higher resolutions like 1080p are recommended for most projects.
- Clean Background: A tidy or blurred background helps keep the focus on you. Consider using virtual backgrounds in software like OBS if you want to add a professional touch.
(record video on PC from a web camera)
Conclusion
Recording video on PC from a web camera doesn’t have to be complicated. Whether you’re using built-in apps or third-party software, the key is to set up your camera properly, choose the right software, and ensure good video and audio quality. By following the steps outlined above, you can create high-quality videos perfect for sharing, streaming, or personal use.
With just a few clicks, you can easily record video on a PC from a web camera and create your own content.

Pingback: How to Clean Computer Storage: Best 8-Step Guide - Tech Passion