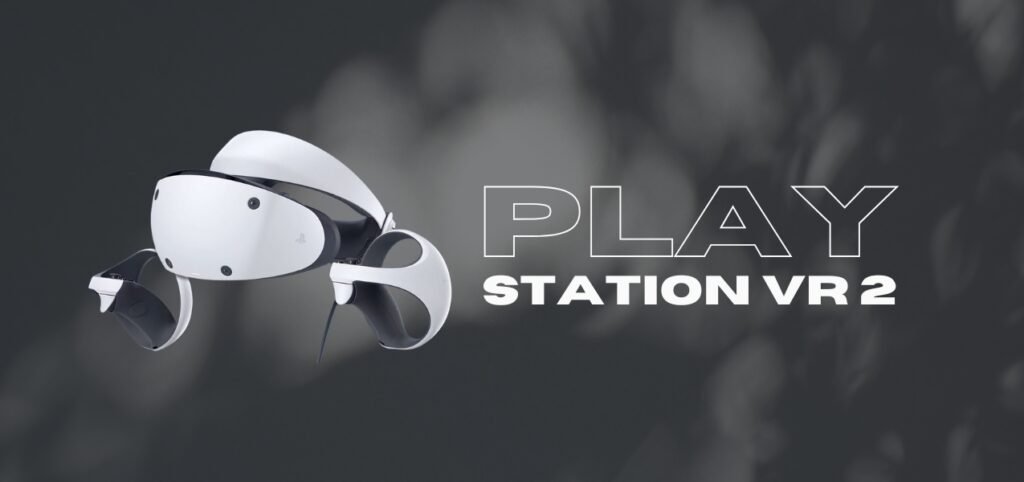
If you’ve just picked up the PlayStation VR2 (PS VR2), congratulations! Setting it up might seem like a big task at first, but it’s simple. In this guide, we’ll walk you through the steps to get your PlayStation VR2 up and running so you can dive into immersive virtual reality gaming in no time.
1. Unbox Your PlayStation VR2
First things first, let’s unbox your PlayStation VR2 and take a look at the contents. You should have the following items inside the box:
- PlayStation VR2 headset
- PlayStation VR2 Sense controllers (left and right)
- USB-C cable
- Stereo headphones
- Manuals and setup guide
Once you have everything out of the box, place the PlayStation VR2 headset on a clean, flat surface to begin your setup. Make sure you have easy access to your PlayStation 5 console and a good amount of space for your VR experience.
2. Connect the PlayStation VR2 to Your PS5 Console
The next step is to connect your PlayStation VR2 to your PlayStation 5. Here’s how you can do that:
- Locate the USB-C cable that came with your PlayStation VR2.
- Plug the USB-C cable into the front USB-C port on your PS5 console.
- The other end of the cable goes into the USB-C port on the PlayStation VR2 headset.
You must connect the PlayStation VR2 directly to the PS5 and not through a USB hub. This ensures the VR headset gets enough power and data throughput.
3. Set Up the PlayStation VR2 Headset
Now that your PlayStation VR2 is connected, it’s time to set up the headset itself. Follow these steps:
- Place the headset comfortably on your head. Adjust the head strap to ensure a secure but comfortable fit.
- Adjust the lenses by moving them closer or farther from your eyes for a clear view.
- You can also adjust the interpupillary distance (IPD) using the sliders on the headset for a more customized visual experience.
Once the headset is positioned correctly, the PlayStation VR2 should automatically detect the device and prompt you to proceed with the setup on the screen.
4. Set Up the PlayStation VR2 Sense Controllers
The PlayStation VR2 Sense controllers are your main input devices for VR gaming. These controllers are designed to track your movements and actions accurately. Here’s how to set them up:
- Take the left and right Play Station VR2 Sense controllers from the box.
- Make sure each controller has enough charge. If they aren’t charged, you can plug them in using the included USB-C cables.
- Turn on each controller by pressing and holding the PS button (located in the center of the controller) for a few seconds.
- Follow the on-screen instructions to pair the controllers with the Play Station VR2 headset.
After the controllers are paired, you can calibrate them by following the in-game instructions. Ensure that you have enough space to move your arms freely while using the controllers.
5. Adjust Your Play Area
Before you start playing, it’s essential to make sure you have a safe and comfortable play area. A few tips:
- Clear the space: Remove any obstacles or furniture that you might bump into while playing.
- Create a safe zone: The Play Station VR2 will help you create a play area on-screen, where you can set up your boundaries. Make sure you stay within these limits to avoid accidents.
- Lighting: Make sure the area is well-lit. However, avoid direct light on the sensors of the Play Station VR2 headset as it can affect tracking.
If you have a small room, consider using a sitting position for your VR experience. If you have more space, you can stand and move around for a more immersive experience.
6. Calibrate and Test Your PlayStation VR2
Now that everything is set up, it’s time to test your Play Station VR2. This step ensures that everything works properly and that you’re ready for your VR adventure.
- Put on the headset and follow the on-screen instructions for calibration.
- You may be asked to adjust the visual settings, such as brightness or contrast, to suit your preferences.
- The system will also guide you through controller calibration, which will help you get the most accurate tracking.
Once you’re calibrated, you’ll be able to see a virtual environment and test out your controllers. If everything looks good, you’re ready to start playing games in VR.
Conclusion: Enjoy Your PlayStation VR2
Setting up your Play Station VR2 is easy when you follow these simple steps. Now that everything is connected and calibrated, you can enjoy a whole new world of gaming. Whether you’re exploring immersive worlds, playing action-packed games, or experiencing virtual reality entertainment, your Play Station VR2 is ready to deliver an unforgettable experience.
Pingback: Apple Vision Pro: Apple's Revolutionary - Tech Passion