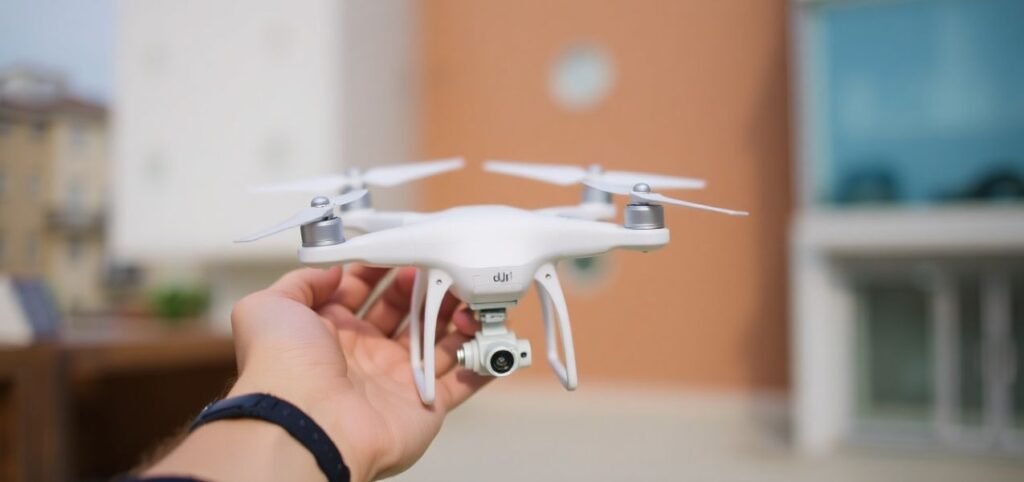
DJI Phantom drones are some of the most popular drones in the world, known for their excellent performance, stability, and ease of use. If you’ve recently purchased a DJI Phantom drone and are excited to take it out for a flight, it’s important to set it up correctly to ensure smooth operations. While the process may seem complicated at first, it’s actually quite simple when broken down step by step. In this guide, we’ll walk you through how to set up your DJI Phantom drone in simple terms.
DJI Phantom Drone A Simple Step-by-Step Guide
1. Unboxing and Checking the Components
The first thing you need to do is unbox your DJI Phantom drone and make sure that all the necessary parts are present. You should find:
- The drone body (the Phantom itself)
- Four propellers
- A remote controller
- A rechargeable battery
- A charger for the battery
- A set of extra propellers (usually)
- A user manual
Take a moment to check everything against the list to ensure you have everything you need before moving to the next step.
2. Charging the Battery
Before you fly, you’ll need to fully charge the drone’s battery. This step is crucial because it ensures that the drone has enough power to operate and fly smoothly.
- Connect the battery to the charger and plug the charger into a power source.
- The battery will usually show a light indicator that blinks to show charging progress. Once fully charged, the light will turn solid.
It typically takes a few hours to fully charge the battery, so be sure to allow enough time before you’re ready to fly.
3. Attaching the Propellers
Next, attach the propellers to the drone’s motors. The DJI Phantom comes with four propellers, and each one is color-coded to match the motors.
- The propellers are labeled with a color, usually black and white.
- Make sure the black propellers go on the black motors, and the white propellers go on the white motors.
- To attach the propellers, simply twist them onto the motors until you hear a click, which confirms they are locked in place.
Be gentle while doing this step to avoid damaging the propellers or motors.
4. Powering On the Drone and Controller
Once everything is assembled, it’s time to turn on the drone and the controller. Here’s how:
- To power on the drone, press the power button on the battery once, and then press and hold it for a few seconds until the drone lights up.
- To power on the remote controller, press and hold the power button on the controller for a few seconds as well.
You should see the LED lights on both the drone and controller turn on. If the lights are blinking, it usually means they’re still connecting to each other.
5. Connecting the Drone and Controller
For your drone to fly, the remote controller must be connected to it. This is done through a pairing process:
- With both the drone and controller powered on, the controller should automatically connect to the drone.
- If the connection isn’t made immediately, you can press the linking button on the back of the drone and hold it until the lights flash, signaling the pairing process.
- Wait for the drone’s lights to turn solid, which indicates that the connection is successful.
6. Installing the DJI GO App
To make the most of your DJI Phantom, it’s recommended to install the DJI GO app on your smartphone or tablet. This app allows you to control the camera, monitor the drone’s status, and access various flight settings. Here’s how you do it:
- Download the DJI GO app from the App Store (iOS) or Google Play Store (Android).
- Once installed, open the app and connect your phone to the remote controller using the provided cable.
- Follow the on-screen prompts to link the app with your drone.
The DJI GO app will also let you perform a system check to make sure everything is in order.
7. Calibrating the Compass
Before your first flight, it’s essential to calibrate the drone’s compass. This ensures that the drone knows its orientation and can fly safely.
- The DJI Phantom typically prompts you to calibrate the compass when you turn it on for the first time.
- To calibrate, hold the drone in front of you and slowly rotate it horizontally. You should see an on-screen message in the DJI GO app prompting you to complete the motion.
- Next, hold the drone vertically and rotate it again until the app confirms that the calibration is complete.
Compass calibration is important because it helps the drone avoid issues like drifting and helps maintain its correct orientation during flight.
8. Checking GPS and Home Point Settings
Before taking off, make sure your DJI Phantom is connected to enough GPS satellites. The drone needs a strong GPS signal to maintain stable flight and return to the home point if necessary.
- Wait for the GPS signal on the app to show at least 6-8 satellites (more is better) before flying.
- The home point is the location where your drone will return automatically if it loses connection or if you press the “Return to Home” button. Ensure you’re in an open area for optimal GPS reception.
9. Ready for Takeoff!
Once everything is set up — battery charged, propellers attached, drone and controller connected, compass calibrated, and GPS signal confirmed — you’re ready to take off!
- Open the DJI GO app and ensure all systems are functioning properly.
- Slowly push the throttle on the controller to lift the drone into the air.
Start with small, smooth movements to get the feel of the controls. With practice, you’ll be flying your DJI Phantom like a pro in no time.
Conclusion
Setting up your DJI Phantom drone doesn’t have to be a complicated process. By following these simple steps — from unboxing and charging the battery to calibrating the compass and connecting to GPS — you’ll be able to set up your drone in no time. Remember to always perform a pre-flight check and fly in an open area for the best experience. Happy flying!
Pingback: Best Drones with Camera: Flying Eyes in Sky - Tech Passion