If you own a PlayStation 5 (PS5) and are experiencing issues with your disk drive, you may want to replace it. Whether the drive is malfunctioning or you simply want to upgrade, installing a new PS5 disk drive is a task you can handle with the right tools and a little patience. In this blog, we’ll guide you through a simple, step-by-step tutorial on how to replace the disk drive in your PS5.
What You’ll Need:
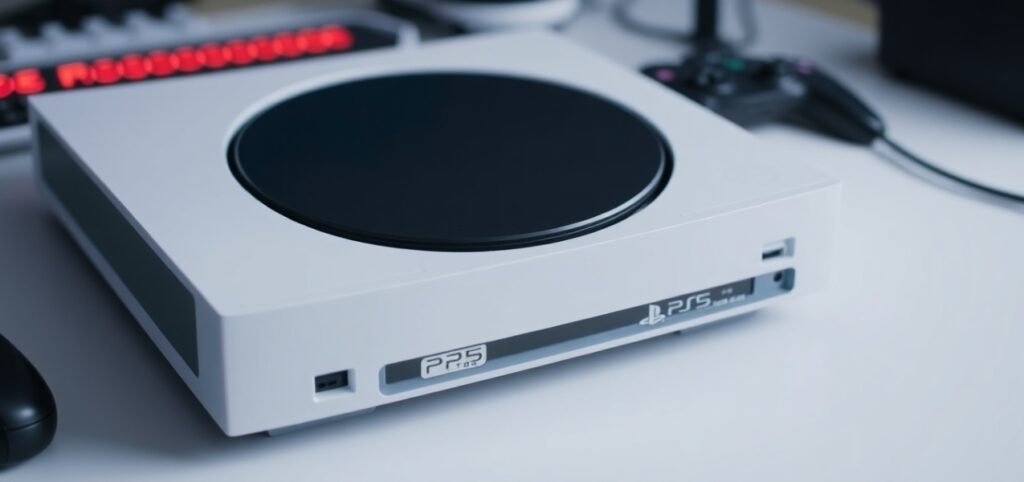
- Replacement PS5 disk drive: Make sure you buy a compatible disk drive for your PS5 model.
- Screwdriver: A small, precision screwdriver, usually a Phillips-head (cross) screwdriver.
- Antistatic wrist strap (optional but recommended): This helps protect your PS5 and components from static electricity, which can cause damage.
- Backup of your data (optional but recommended): Although replacing the disk drive typically doesn’t affect your data, it’s always a good idea to back up your important files, just in case.
7 Steps to Install a New PS5 Disk Drive
Step 1: Power Down and Unplug Your PS5
Before you start, make sure your PS5 is completely powered off and unplugged from the wall. This is crucial for safety reasons and will ensure that you don’t accidentally damage the internal components while working.
Disconnect the power cable, HDMI cable, and any other peripherals (like controllers or external hard drives) connected to your console. Place the PS5 on a clean, flat surface to avoid scratches. (PS5 disk drive)
Step 2: Remove the Outer Shell
The PS5 has an outer shell that can be removed to access the internal components. This part can be a bit tricky because the shell is tightly fitted.
- Lay the PS5 on its side so that you can access the outer shell.
- Gently but firmly lift the top corner of the outer shell. You might need to wiggle it a bit to loosen it.
- Once it pops off, set it aside in a safe place.
Now that you’ve removed the outer shell, you’ll have full access to the PS5’s internal components. (PS5 disk drive)
Step 3: Remove the Old Disk Drive
Once you have the outer shell removed, you’ll see the disk drive inside the PS5. This is where you’ll need your screwdriver.
- Locate the disk drive: It should be a rectangular component, usually positioned at the front of the PS5.
- Using your screwdriver, unscrew the screws securing the disk drive in place. These screws are usually located on the sides or back of the drive.
- After removing the screws, carefully disconnect the cables attached to the disk drive. There will typically be a data cable and a power cable. Gently pull these out without damaging them.
- Once the cables are detached, remove the old disk drive by carefully pulling it out of its housing.
At this point, the old disk drive is fully removed, and you’re ready to install the new one. (PS5 disk drive)
Step 4: Install the New Disk Drive
Now comes the fun part – installing the new disk drive. This step is similar to removing the old drive but in reverse.
- Place the new disk drive into the slot where the old one was. Make sure it fits snugly in place.
- Reconnect the cables: Plug the power and data cables back into the new disk drive. Ensure they are securely attached, so there are no loose connections.
- Screw the disk drive into place: Use the screws you removed earlier to secure the new disk drive in place. Be careful not to overtighten the screws, as this could cause damage.
Step 5: Reassemble Your PS5
Once the new disk drive is securely installed, it’s time to put your PS5 back together.
- Reattach the outer shell: Simply align the shell with the PS5’s body and press it down gently until it clicks into place.
- Reconnect all cables: Plug the power cable, HDMI cable, and any other peripherals back into the PS5.
Step 6: Power On Your PS5 and Test the New Drive
Now that your PS5 is fully assembled, power it back on. The system should detect the new disk drive automatically. If everything is connected properly, the PS5 should be able to read and run games or movies from discs.
Test the drive: Insert a PS5 game disc and check if it’s recognized. If the disc is properly detected, the drive is working correctly. (PS5 disk drive)
Step 7: Update the System Software (If Needed)
Sometimes, after replacing hardware components like the disk drive, you may need to update the PS5 system software to ensure full compatibility.
- Navigate to Settings on your PS5 home screen.
- Go to System > System Software > Update System Software.
- If there’s an update available, follow the prompts to update your system.
Final Thoughts
Replacing the disk drive in your PS5 may seem daunting, but with the right tools and a little patience, it’s a straightforward process. Just remember to take your time, work carefully, and always ensure that your console is powered off and unplugged before you start. (PS5 disk drive)
By following this simple tutorial, you should now have a fully functional PS5 with a brand-new disk drive. Enjoy your gaming experience, and if you ever need further assistance, there are plenty of online resources and communities that can help guide you through more advanced repairs and upgrades. (PS5 disk drive)