How to Set Up USB-C to HDMI: In today’s tech-savvy world, connecting your devices to larger screens like TVs or monitors is easier than ever, thanks to USB-C to HDMI. If you’re looking to stream movies, share presentations, or enjoy gaming on a bigger screen, USB-C to HDMI is the solution. Here’s a step-by-step guide to help you set it up.
What is USB-C to HDMI?
USB-C is a small, reversible connector found on modern devices like laptops, tablets, and smartphones. HDMI (High-Definition Multimedia Interface) is the standard for transferring high-quality video and audio to TVs, monitors, or projectors. USB-C to HDMI allows you to bridge the gap between these two technologies, enabling your device to display content on a larger screen.
What You’ll Need
Before getting started, ensure you have:
- A USB-C port on your device (check for the small, oval-shaped port).
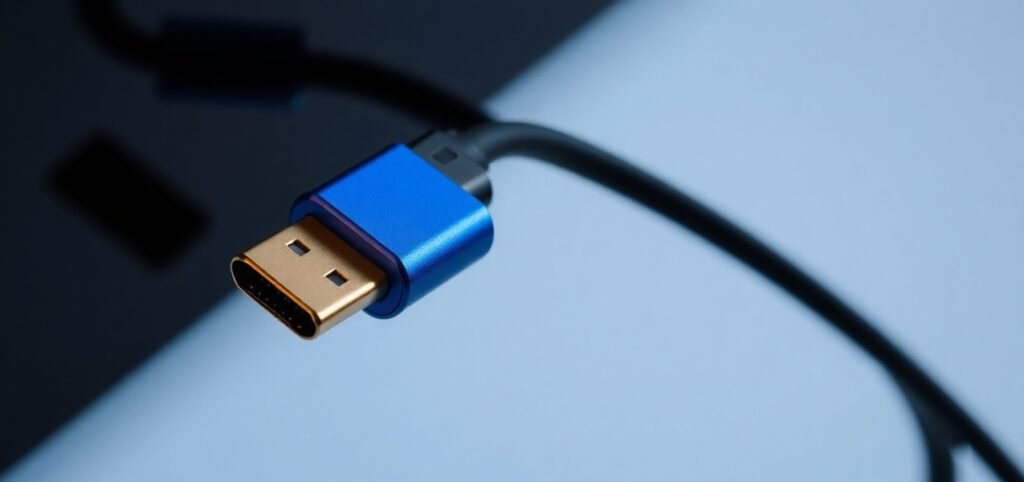
- A USB-C to HDMI adapter or cable.
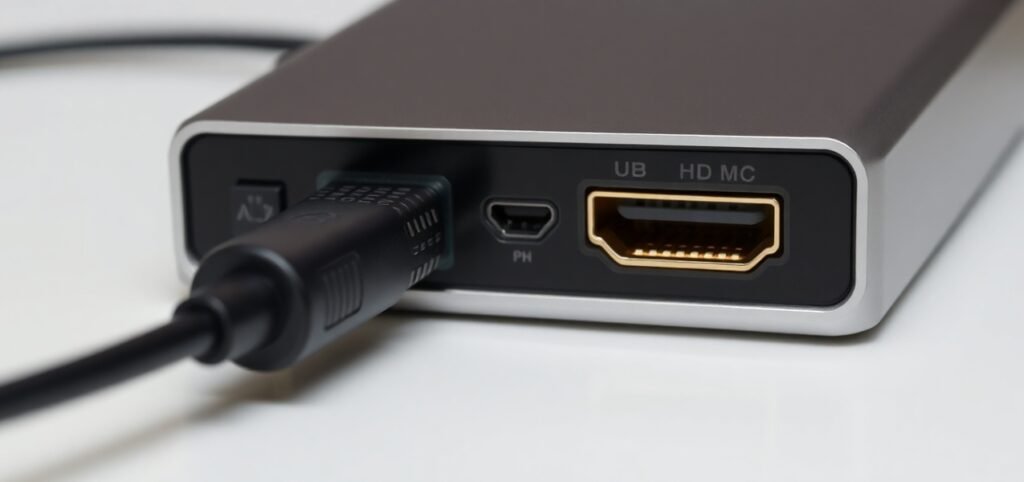
- A TV, monitor, or projector with an HDMI port.
- An HDMI cable (if your adapter doesn’t come with one).
How to Set Up USB-C to HDMI: Step-by-Step Guide
Step 1: Check Compatibility
- Device Support: Ensure your device supports “DisplayPort Alternate Mode” (Alt Mode) on its USB-C port. This feature allows video output.
- Adapter Support: Choose a USB-C to HDMI adapter compatible with your device’s operating system and video output requirements (e.g., 4K resolution).
Step 2: Connect Your Devices
- Plug one end of the USB-C to HDMI adapter or cable into your device’s USB-C port.
- Connect the HDMI end of the adapter or cable to your TV, monitor, or projector using an HDMI cable if needed.
Step 3: Set Up the Display
Once connected, your device and screen should automatically detect each other. If not:
- For Windows: Right-click on your desktop, select Display settings and choose how you want the screen to display (duplicate, extend, or second screen only).
- For macOS: Go to System Preferences > Displays and configure the arrangement or mirroring.
- For Smartphones/Tablets: Some devices may need screen mirroring or casting enabled through their settings.
Step 4: Adjust Audio Settings
To ensure sound plays through the connected screen:
- Go to your device’s audio settings and select the HDMI output as the audio source.
Tips for a Smooth Experience
- Cable Length: Use an appropriately long cable to avoid tangling or limited movement.
- Resolution Support: Confirm the adapter supports the resolution of your screen (e.g., 1080p, 4K).
- Update Drivers: Keep your device’s drivers or firmware up to date for compatibility.
- Power Supply: If you’re using a smartphone, ensure it has sufficient battery or is connected to power.
Troubleshooting Common Issues
- No Display on the Screen
- Check the cable connections.
- Ensure the correct HDMI input is selected on your TV or monitor.
- Low-Quality Display
- Verify the adapter supports the resolution you’re trying to output.
- Use high-quality cables to prevent interference.
- No Sound
- Ensure HDMI is selected as the audio output device in your settings.
- Check if the adapter supports audio transfer.
- Device Not Recognized
- Restart your device and reconnect.
- Test with a different adapter or cable to rule out hardware issues.
When to Seek Help
If your USB-C to HDMI setup still doesn’t work, contact the adapter or device manufacturer for technical support. Sometimes, the issue might be a faulty adapter or an incompatible device.
Final Thoughts
Setting up USB-C to HDMI is straightforward and opens up many possibilities for enhancing your entertainment, productivity, and gaming experiences. With the right tools and a bit of troubleshooting, you’ll be enjoying your larger screen in no time.
Pingback: USB Rechargeable Batteries: Amazing Way of Power - Tech Passion